Your first video in 5 minutes
This walks through the studio's Simple mode, from a folder of clips to finished videos. You need ClipForge installed (see Install in the README) and a few video files. Everything stays on your PC.
1. Open the studio with a folder
Start ClipForge: double-click ClipForge.vbs, or start it from the Start menu if you installed it with Scoop. It opens in your browser. Click Studio in the left sidebar.
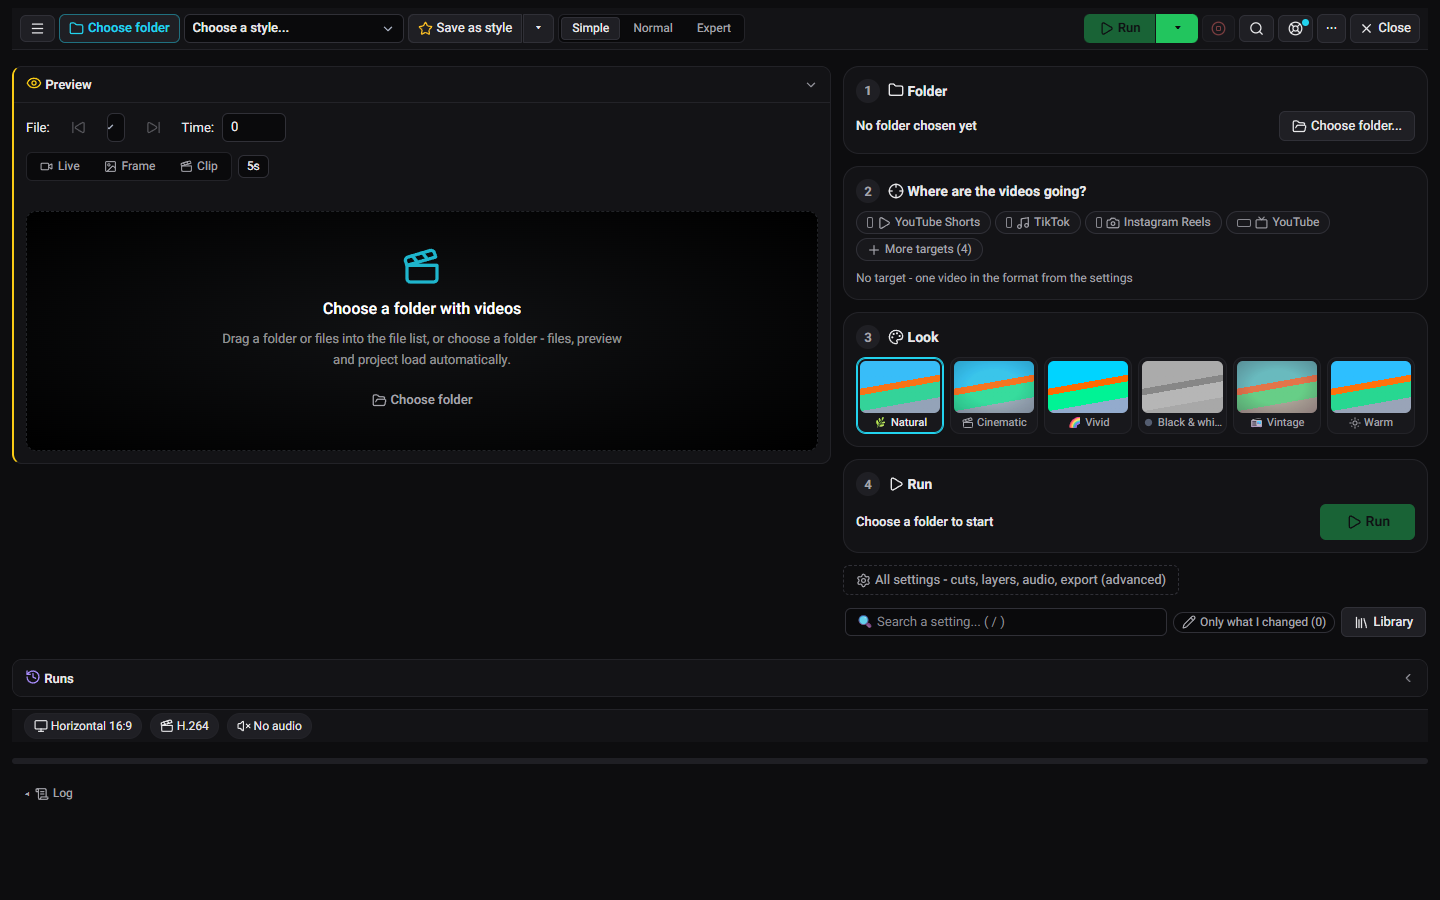
Click Choose folder and pick a folder with a few clips, or drag the folder (or the files) into the file list. The files, a live preview and the project for that folder load by themselves. Every folder keeps its own project, so your choices are still there the next time you open it.
2. Pick where the videos are going
Under Where are the videos going?, tap one or more targets: YouTube Shorts, TikTok, Instagram Reels or YouTube. More targets has the rest. Each target gets its own video, in its own format, from a single run. With no target you get one video in the format set in the settings.
3. Pick a look
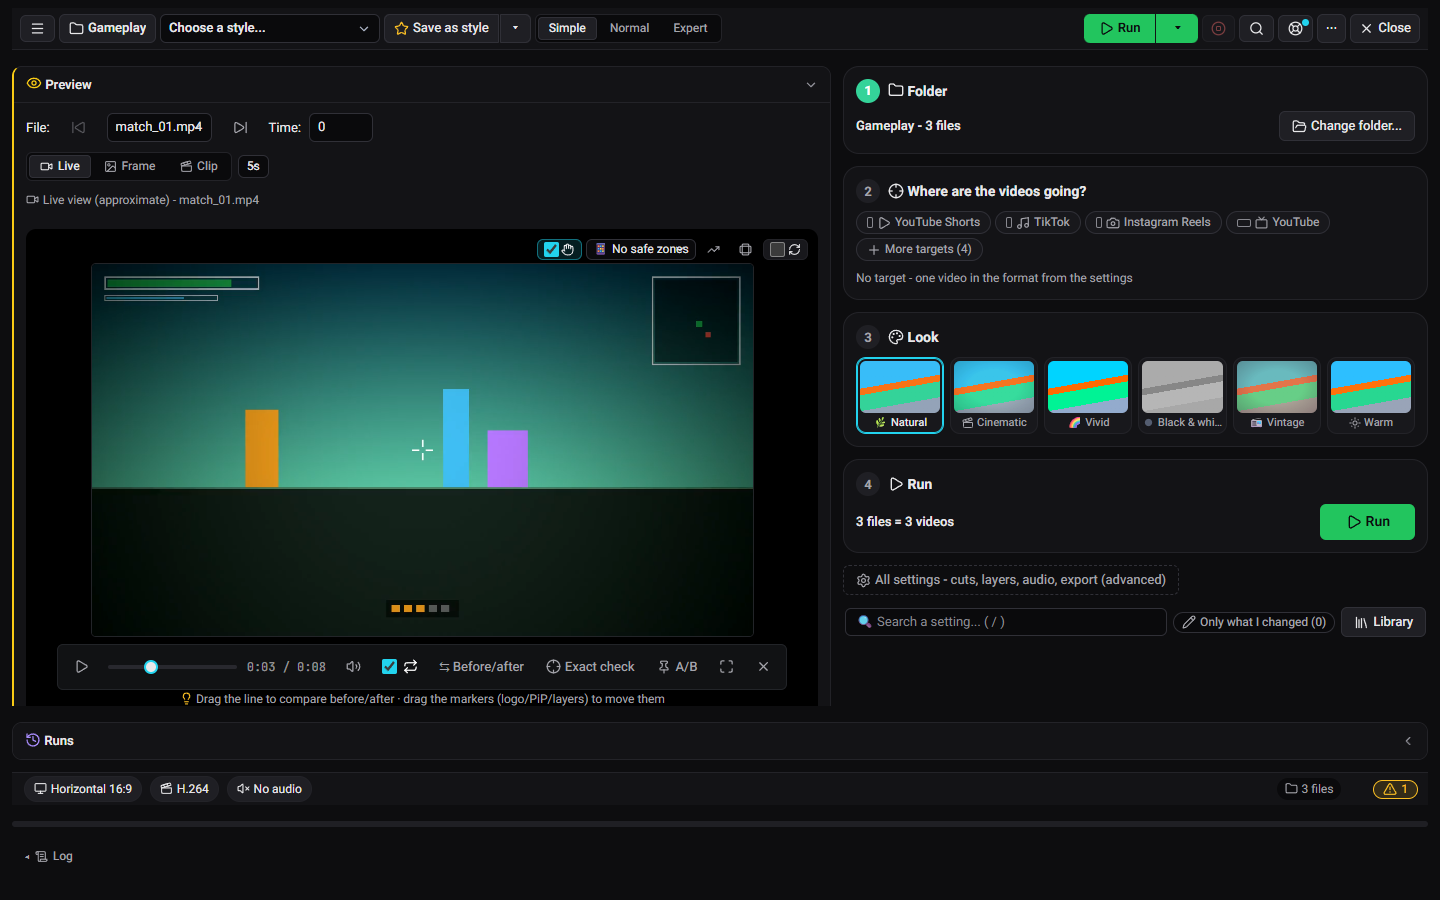
Under Look, choose Natural, Cinematic, Vivid, Black & white, Vintage or Warm. The live player shows it right away, so you can try them one after the other. Before/after, under the player, compares the result with your original clip.
4. Run
The Run card says what is about to happen, for example "3 files = 3 videos". Press Run. The Runs bar at the bottom shows what is running.
5. Find your videos
Finished videos appear in Outputs (left sidebar): every video you made, newest first, with a player and quick actions. They are saved in the workspace folder next to ClipForge.vbs, or in the export folder you chose in the settings.
Going further
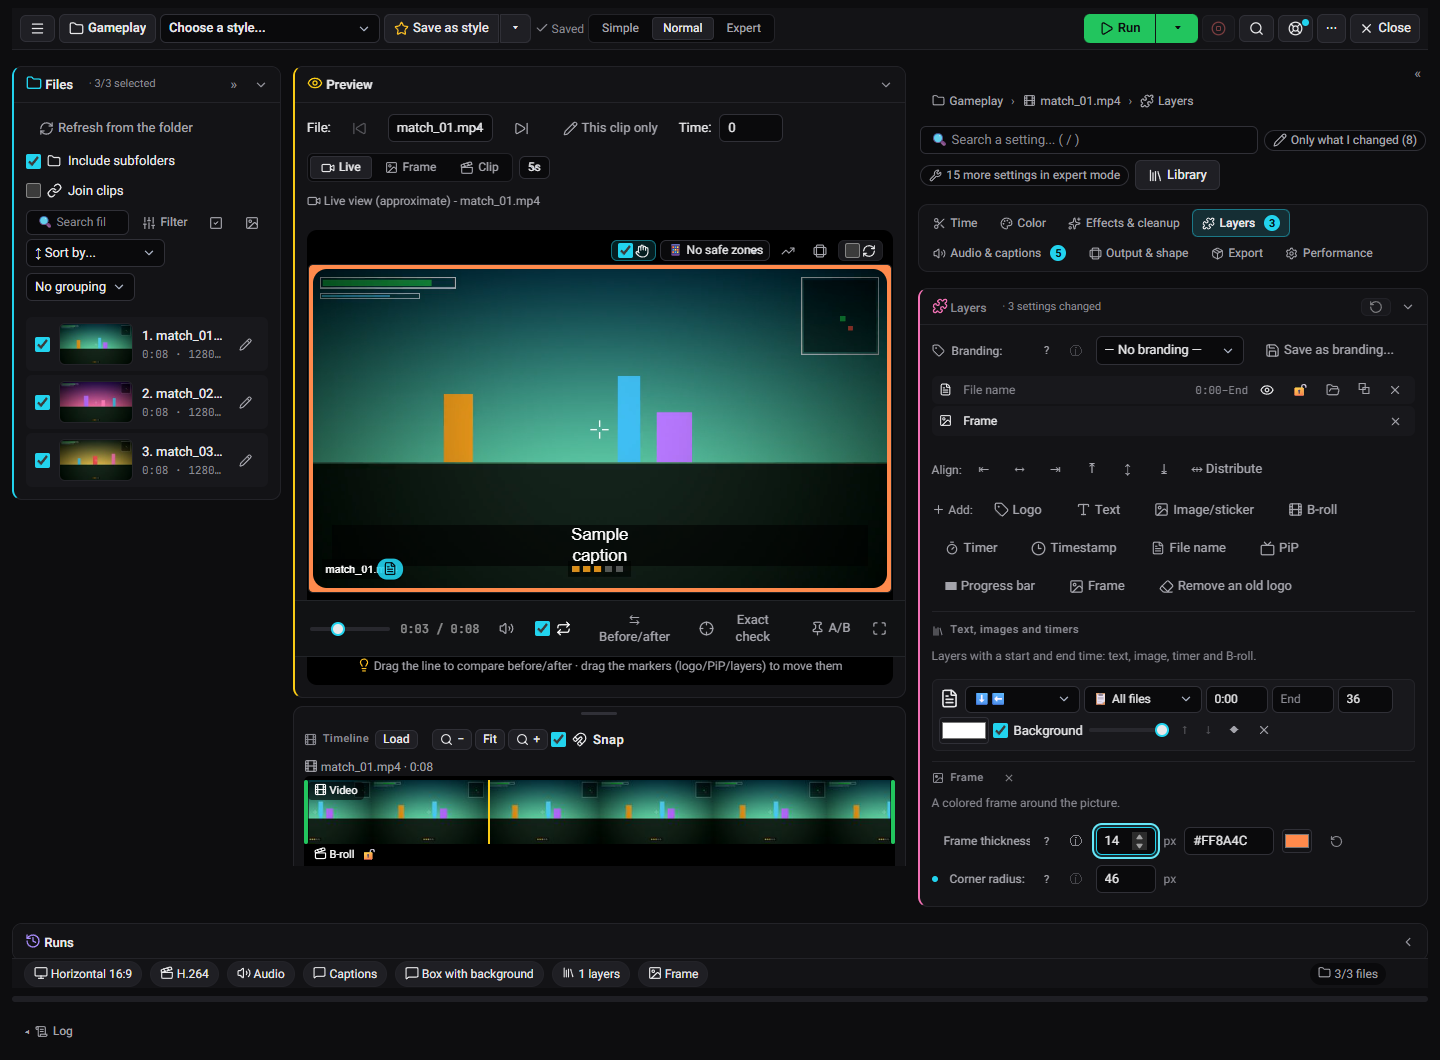
- Normal and Expert modes (the switch at the top of the studio) open every setting: cuts, color, effects, layers, audio and captions, output and export.
- Layers go on top of the picture: a logo, text, an image, a timer, a timestamp, the name of the source file, a frame (with optional rounded corners) and a progress bar. Drag them in the live player to move them.
- Captions are written by speech-to-text on your PC and burned into the video. They need the clip's audio. You choose the font, color and position, and a line length so that long captions wrap.
- Save as style keeps your whole setup, so you can use it on the next folder.
More: the studio reference, data videos, and the optional features (AI titles, YouTube upload, a Discord bot and more).